

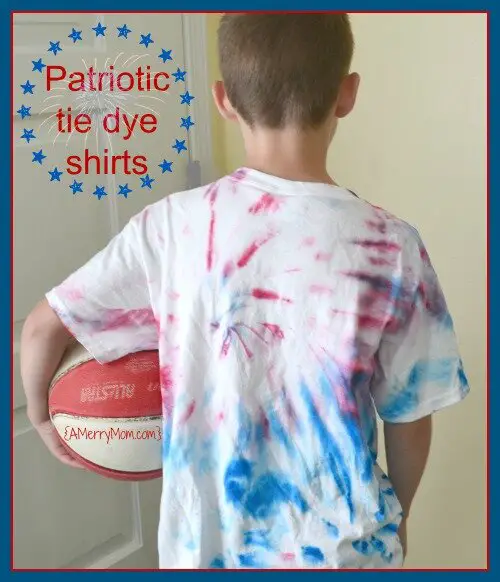
With Independence Day coming up soon, I’m on a red, white, and blue crafting kick. Today’s project was tie dye shirts. Tie dye designs often remind me of fireworks, so it’s the perfect project to help us celebrate the 4th of July.
 I recently realized that through all of the kids’ activities my children have attended, they’ve never done any tie dye projects. How did that happen!? Since I loved tie dying when I was a kid, I decided that for today’s Try It Tuesday, it was time for my kids to learn how to tie dye shirts.
I bought the three white shirts and two colors of spray-on fabric dye from Hobby Lobby for just $14.10. With their everyday 30% off pricing for t-shirts, I got each shirt for just $2.44, and I chose two-ounce bottles of red and blue SEI Tumble Dye for $2.99 each. We finished three kid-size tie dye shirts with plenty of dye left over for other projects.
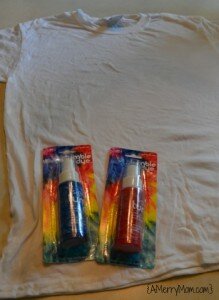
We dampened each shirt with water and put them flat on a table to get started on the designs.
We created two designs for these patriotic tie dye shirts.
Swirl Tie Dye Shirt
My oldest son wanted a swirl pattern on his shirt, so we pinched it in the middle and twisted the whole shirt into a large, flat swirl. Then we added rubber bands to resemble pie slices. 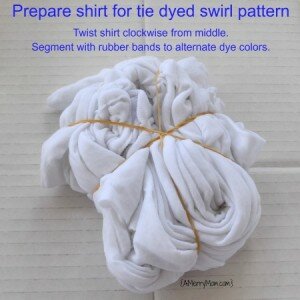 We took the shirt outside and placed it on cardboard to catch excess dye as my son sprayed the colors onto the shirt.
He sprayed the dye onto each segment, alternating colors. The red bottle was harder to spray and was leaking dye onto his hand. (We should have worn gloves – but the color washed off our hands well.) He liked using the blue better and got some extra blue in a red segment, but that’s OK. Since tie dying shirts is not a perfect process, a mistake in the pattern is fine.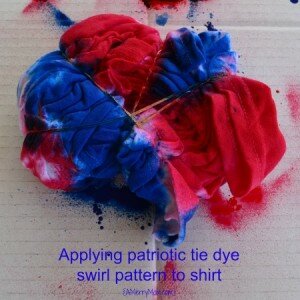 We let the dye air dry outside for a while, keeping the bundled shirt flat and in the shade. When we unwrapped the shirt, my son was very happy with his design! It just needed a tumble in the dryer for 20 minutes to heat set the color, in accordance with the dye instructions.
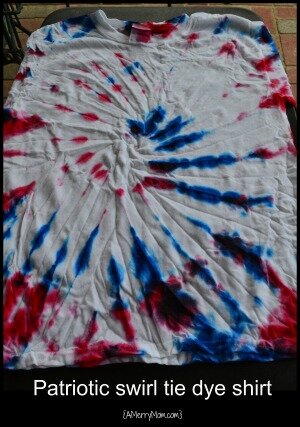
This shirt has a great look for Independence Day!
Firework Tie Dye Shirt
We also created a fireworks-patterned shirt. This is my favorite design for our patriotic tie dye shirts.
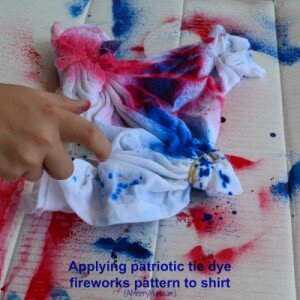
We made two small swirl patterns in opposite areas of the shirt by pinching in the middle of the area and swirling it in a flat circle. We applied rubber bands to hold it in place. Then we used small bullesye patterns for the remaining two corners by pulling those areas of the shirt straight up and wrapping rubber bands around them in two layers. My son applied the spray-on fabric dye in alternating red and blue. With the red bottle leaking dye onto his hand, he used more blue for his design.
Again, we let the dye air dry outside for a while, with the shirt flat and out of the sun. After we removed the rubber bands, the shirt needed to go into the dryer for 20 minutes to heat set the color, in accordance with the dye instructions.
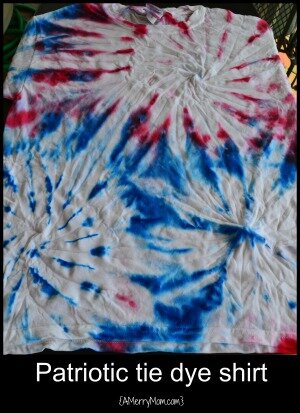
When we unwrapped the shirt, it had a great fireworks pattern that is perfect for the 4th of July!
The kids all enjoyed creating their own tie dye shirts. It’s a great summer activity and a fun way to display patriotic red, white, and blue!
Looking for more summer fun? Check out this great list of over 30 free or inexpensive summer activities for kids!
If you like these patriotic tie dye shirts, see more red, white, and blue on my summer Pinterest board. Come on over and pin along with me!
Follow Lisa {A Merry Mom}’s board Celebrate – Summer on Pinterest.
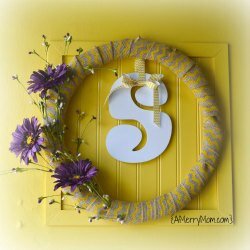


 I used a smaller chevron-patterned ribbon to hang the wreath on the door, but I thought it needed something else.


 Happy crafting!