Tag Archives: DIY

Make a monogram shadowbox - AMerryMom.com

DIY decorating: Make a shadowbox monogram

Do you love monograms as much as I do?

I love decorating with monograms for a personal, homey touch. I have several of our last name initials scattered around our house. There’s a big “S” here and a little one there.  I try not to go overboard, but I really love them!

My daughter has picked up the same sense of style and loves to personalize things with an “E” for her first name.  So when we decided to add some decor to fill a corner in her room by her window, we knew she needed her initial on the wall.

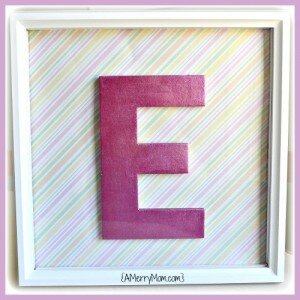
We picked up all the supplies from Hobby Lobby – a white 12×12 shadowbox, a paperboard letter, a sheet of scrapbook paper, and some coordinating paint.  The materials were inexpensive, and it was an easy project that we could do together.

This was a great way for my daughter to be involved in decorating her own room.  She’s at that transition age when it’s time for some updates, and she wants to be hands-on with the decorating.  She got to pick the paint and paper (based on the options I gave her that would match her room), and then help put it all together.

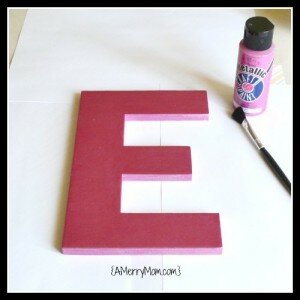
First we painted the letter and let it dry.  She chose Anita’s Metallic Craft Paint in rose.  She did the first coat of paint, then I did the final coat to be sure the paint was even and wasn’t showing any brush strokes.Make a monogram shadowbox - AMerryMom.com
When it was dry, I used double-sided tape to attach the letter to the scrapbook paper, then placed it in the shadowbox.  Easy peasy!Make a monogram shadowbox - AMerryMom.com
When we hung it up, my daughter decided to add a little pink dragonfly above the shadowbox.  We had some mirrored butterflies that were waiting for the perfect spot, so I let her stick a few around it on her wall.  We love how it personalizes her room!
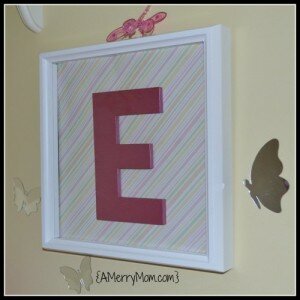
Finished monogram shadowbox

This was a fun, simple mother-daughter project – perfect for a rainy Saturday afternoon!

Thanks for stopping by! You can also find me here: facebooktwittergoogle_pluspinterestrss
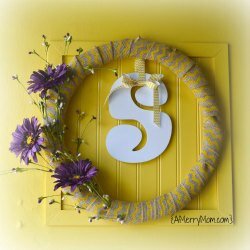
Cheery spring wreath

Cheery spring wreath

Even though the beginning of March is part of winter, I always have spring fever as soon as we get past February.  I look forward to spring all winter long, and as soon as the calendar hits March, I feel like we’ve made it!

To welcome the change of seasons, one of the first things I do is update our front door wreath.

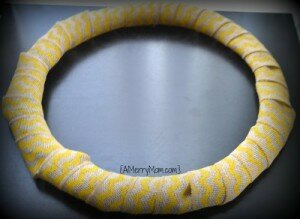
I found a fun chevron patterned burlap ribbon at Hobby Lobby that spurred this year’s spring wreath for our front door.  My front door makeover last fall was all about presenting a cheery welcome to our home, and I thought this ribbon was perfect.

While at Hobby Lobby, I also bought an 18-inch wire wreath form and a few stems of purple silk flowers to complete my wreath.  Best of all, everything was on sale.  My total for the materials was just over $13.  I love the Hobby Lobby sales!

I wrapped the burlap ribbon around the wreath form in overlapping layers and used clear packing tape to hold it together in the back.  I decided not to hot glue anything in case I wanted to change up the look after a while.

After clipping the stems down, I arranged and inserted the flowers into the ribbon layers.   Everything has been staying in place just fine without glue, and I like having the option to revamp the wreath later if I want.I used a smaller chevron-patterned ribbon to hang the wreath on the door, but I thought it needed something else.

I found a monogram letter that I bought a few months ago but had never used.  Using the same ribbon, I added a bow and hung the monogram behind the wreath.  Cheery spring wreath

Now we’re ready to welcome the change of seasons with this cheery spring wreath!

Are you as excited for spring as I am?

I link up at these link parties.

Thanks for stopping by! You can also find me here: facebooktwittergoogle_pluspinterestrss
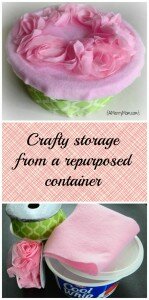
Girly storage from upcycled container

Lovely storage for a little girl

My daughter loves Cool Whip.  Our weekly tradition is chocolate chip pancakes for Saturday morning breakfast.  She usually puts more Cool Whip than pancakes on her plate.Crafty storage from a repurposed container

She also seems to love anything that comes with lots of little pieces: hair clips and elastic bands, rubber bracelet bands, beads, stickers, Barbie accessories, etc.  Then we need to find places to store all of these items so they don’t get lost all over the house.

These two loves inspired my trash-to-treasure project today.  We end up with a lot of empty Cool Whip containers.  They’re nice little containers, so I wanted to try to repurpose one as a storage solution for my daughter.

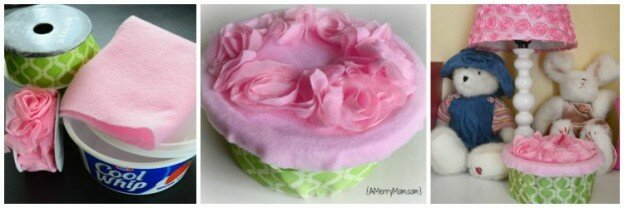
I decided to make it a floral accent for her room with a green base and pink top.  For the bottom, I found some lovely green ribbon with a pattern that reminded me of a stem.  For the top I bought a small piece of pink felt and a spool of  adorable rosette ribbon.

The green ribbon was only $1.99 at 50 percent off.  The felt was 23 cents, and the pink ribbon was $1.99.  Since I used less than half of each, the real cost is lower than the $4.21 I spent on the materials.

First I used my hot glue gun to attach the green ribbon to the base in two overlapping strips.

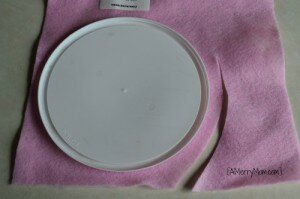
Once that was done, I cut the felt to size (freehand) around the Cool Whip lid.Felt for lid

I hot glued the felt to the lid around the inside of the lid indentation, then glued it down on the edge.  I trimmed off excess felt as needed.

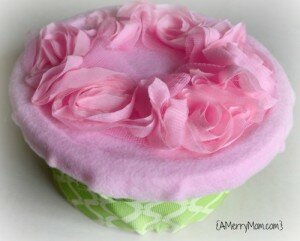
I arranged the rosette ribbon on top of the felt and adjusted it until I liked how it looked.  I cut it off the spool and carefully hot glued it in sections to avoid moving it.Craft a girly storage container

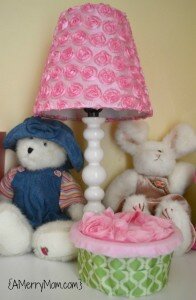
The project was a quick and easy way to add some cute storage for my daughter’s room.   I think it looks adorable by her lamp!
Girly storage from upcycled plastic containerHappy crafting!

I link up at these link parties.

Thanks for stopping by! You can also find me here: facebooktwittergoogle_pluspinterestrss