Tag Archives: front door

Cheery spring wreath

Cheery spring wreath

Even though the beginning of March is part of winter, I always have spring fever as soon as we get past February.  I look forward to spring all winter long, and as soon as the calendar hits March, I feel like we’ve made it!

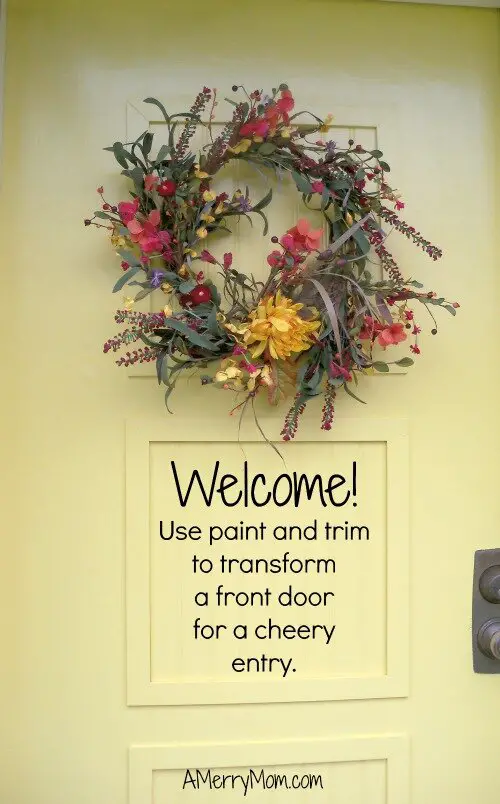
To welcome the change of seasons, one of the first things I do is update our front door wreath.

I found a fun chevron patterned burlap ribbon at Hobby Lobby that spurred this year’s spring wreath for our front door.  My front door makeover last fall was all about presenting a cheery welcome to our home, and I thought this ribbon was perfect.

While at Hobby Lobby, I also bought an 18-inch wire wreath form and a few stems of purple silk flowers to complete my wreath.  Best of all, everything was on sale.  My total for the materials was just over $13.  I love the Hobby Lobby sales!

I wrapped the burlap ribbon around the wreath form in overlapping layers and used clear packing tape to hold it together in the back.  I decided not to hot glue anything in case I wanted to change up the look after a while.

After clipping the stems down, I arranged and inserted the flowers into the ribbon layers.   Everything has been staying in place just fine without glue, and I like having the option to revamp the wreath later if I want.I used a smaller chevron-patterned ribbon to hang the wreath on the door, but I thought it needed something else.

I found a monogram letter that I bought a few months ago but had never used.  Using the same ribbon, I added a bow and hung the monogram behind the wreath.  Cheery spring wreath

Now we’re ready to welcome the change of seasons with this cheery spring wreath!

Are you as excited for spring as I am?

I link up at these link parties.

A cheerful, easy DIY front door makeover

What to do when your front door is looking tired and uninviting?  A simple DIY front door makeover is the perfect solution!  You can achieve a great update for just a few bucks!

Easy DIY yellow front door makeover - before and after - AMerryMom.comWhen I quit my job to become a stay-at-home mom, one of the first projects I planned to tackle was updating our front door so it would be more inviting.  The door had seen better days, and it definitely did not present the warm welcome I wanted.  But I didn’t want to spend a lot of money on our front door since we just went down to only one income.

Instead of buying a new door, I decided to revamp our existing door, which appears to be original to our nearly 50-year-old house.  I completed this quick and easy DIY front door makeover for less than $30 to cover the cost of paint and some wood.  It was the perfect solution on a budget!

I was so excited to finally update this door!  I had tried to fix the paint before, but it already had several layers on it and didn’t touch up well.  It needed to be sanded down and completely repainted.  I also wanted to modernize the look by covering the circle design.

Easy DIY for a great front door makeover

To get started on my front door makeover, I cut some bead board paneling to cover the circles.  I love the look of bead board!  Cutting these square panels was the biggest challenge in my DIY front door makeover, since I’m terrified of using any type of electric saw.  (I’m a bit of a klutz, so it may be less of an irrational fear than you might think.)

Since I’m not a regular woodworker, I use a simple miter box for most of my little wood projects.  I just used that saw to cut the three bead board squares I needed.  Yes, it took me longer to cut them this way than with an electric tool, but I came out unscathed, so I call it a win.

I got some pieces of wood lattice and cut them with my trusty miter box to use as trim around the bead board.  I debated whether to use nails or adhesive to attach the bead board and trim to the existing front door, and finally decided to use nails.  Wood filler and paint covered the nail holes pretty well.

A yellow front door makeover exudes cheery curb appeal

What goes perfectly with a front door makeover?  A bright and cheery paint color to welcome guests!

For the paint, I picked a bright, vibrant yellow to coordinate with the house’s red bricks and light yellow trim.  I used Olympic Golden Glow paint in self-priming semi-gloss.  Since I only needed a quart of paint, it was a very inexpensive way to make a huge impact! DIY yellow front door makeover for under $30 with paint and trim - AMerryMom.com

I love my new yellow front door!  There’s definitely no missing our house now.  We can tell new visitors that we’re the house with the bright yellow front door!

I wanted something cheerful and welcoming to brighten up the front of the house.  I think this front door makeover does it!

My easy DIY front door makeover was just in time for my new fall wreath.  I love the look of the colors together!

This project is linked up at some of these link parties.